IMOU STORE
Available on Amazon & AliExpress
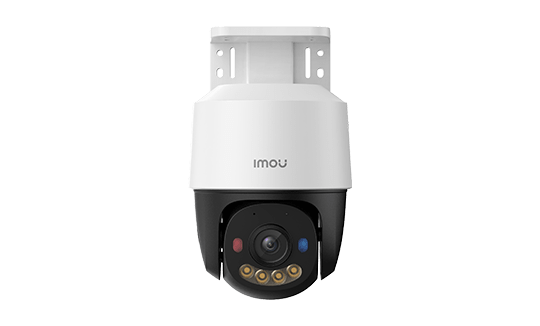
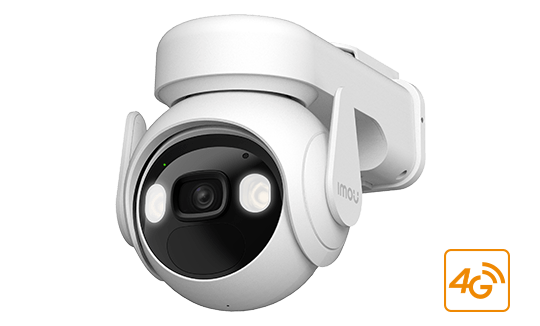
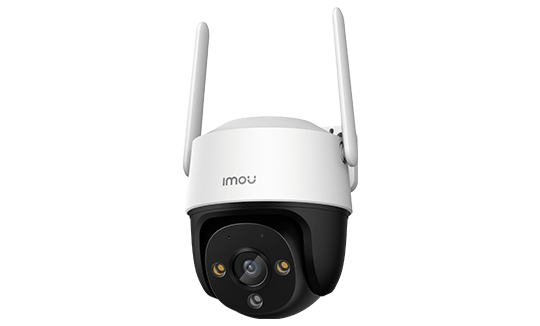
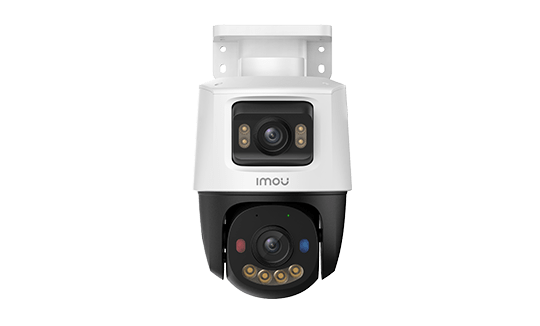
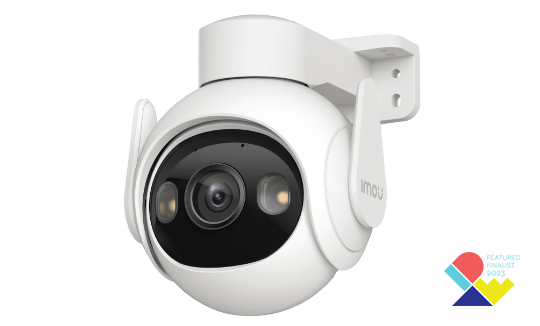
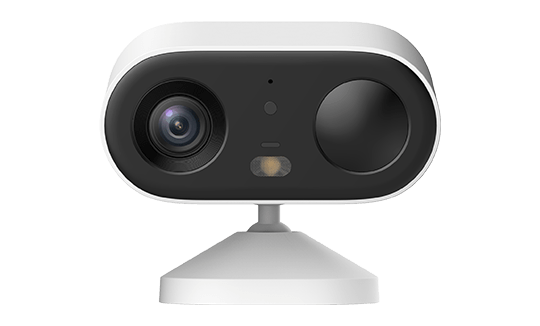
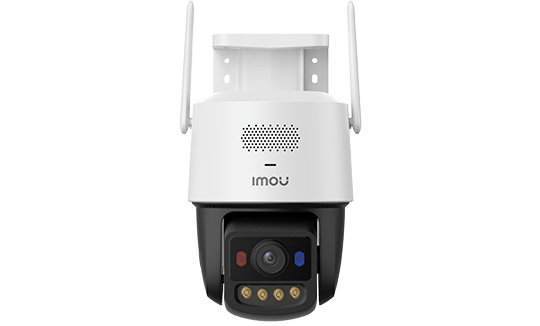
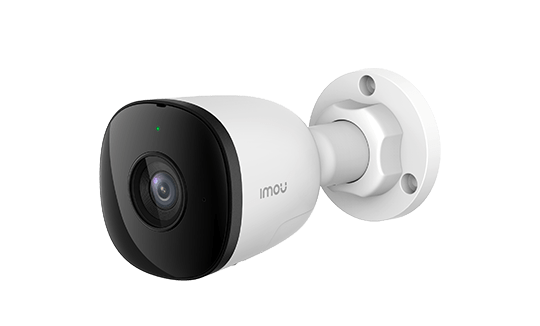
IMOU CAMERAS EXT
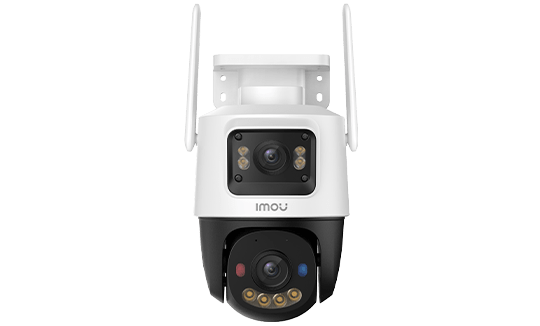

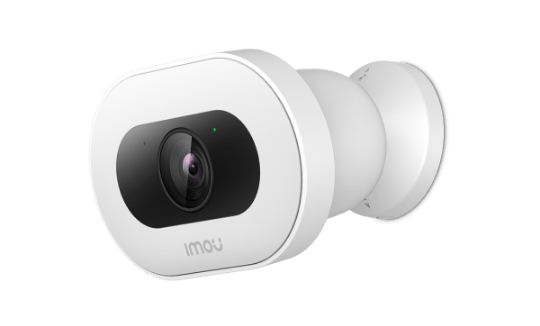
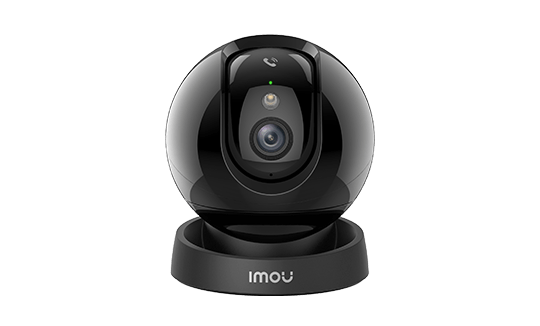
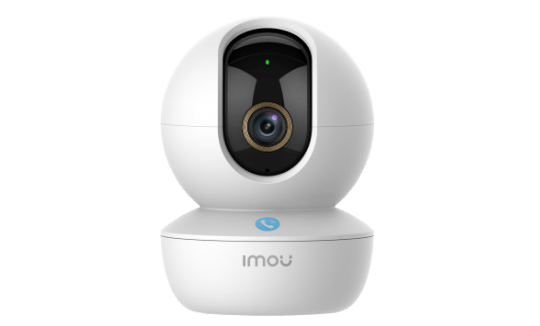
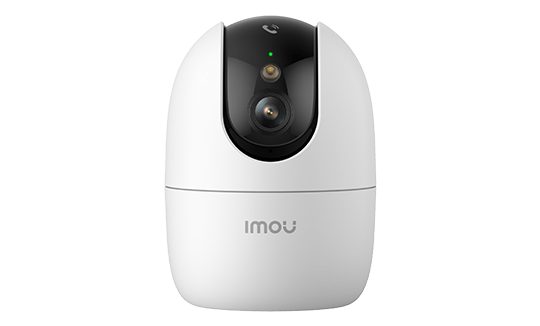
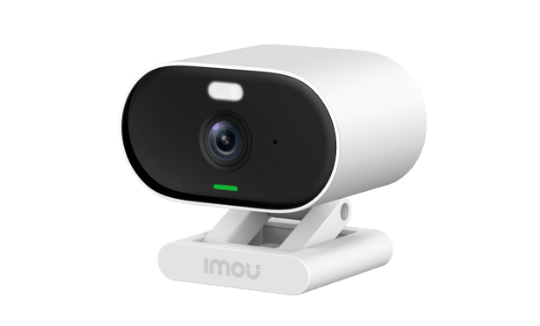
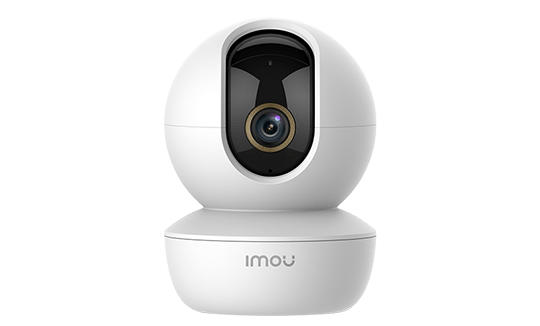
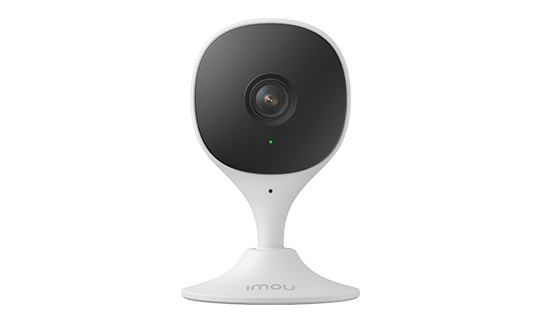
IMOU CAMERAS INT
How to Install an Imou Camera: Complete Step-by-Step Guide
Installing an Imou camera is designed to be straightforward for everyone, with no specialist technical knowledge required. Depending on the camera type — Wi-Fi, PoE, battery or 4G — the steps vary slightly. This guide covers every scenario.
Before You Begin: What to Prepare
Gather the following before starting:
- Your Imou camera and its power cable or charger
- A smartphone (iOS or Android) for the Imou Life app
- Your Wi-Fi network credentials (SSID + password) — a 2.4 GHz network is required for most models
- For PoE models: a Cat 5e or Cat 6 cable and a compatible PoE switch or NVR
- For 4G models: a nano-SIM card with an active data plan
- For wall mounting: a drill, wall plugs and screws (included with the camera)
Installing Wi-Fi Cameras (Mains-Powered, Indoor and Outdoor)
1. Download the Imou Life App
The Imou Life app is available free of charge on the App Store (iOS) and Google Play Store (Android). Create an Imou account using your email address, or sign in if you already have one. A single account manages all your Imou cameras.
2. Choose Your Camera Position
Before drilling, check the following:
- Wi-Fi range: the camera must receive an adequate Wi-Fi signal (minimum -70 dBm). If the signal is weak, consider a Wi-Fi repeater or additional access point.
- Field of view: indoors, aim at key access points (doors, windows). Outdoors, angle the camera slightly downward to capture faces rather than the tops of heads.
- Power supply: ensure a mains socket is nearby, or plan the cable run with suitable trunking.
- Sun exposure: avoid pointing the camera directly at a strong light source, which will blind the sensor.
3. Fix the Camera (Wall Mounting)
Most Imou cameras are supplied with a mounting bracket, wall plugs and screws. For hard surfaces (concrete, brick), use a drill with the appropriate drill bit (typically 6 mm). Fix the bracket to the wall first, then clip or screw the camera onto the bracket. Adjust the aiming angle.
4. Power Up the Camera
Connect the power cable to the camera and plug it into a 230V socket. Wait for the LED indicator (typically a flashing red light) to show that the camera is in pairing mode. This takes approximately 30 seconds.
5. Add the Camera in the Imou Life App
- Open the Imou Life app and tap the “+” button (add device)
- Select the configuration method (QR code or automatic discovery)
- Scan the QR code on the underside of the camera or on the packaging
- Select your 2.4 GHz Wi-Fi network and enter the password
- Wait for the connection to complete (30–60 seconds) — the LED turns solid green
- Give your camera a name (e.g. “Living Room”, “Front Door”)
Tip: if the connection fails, check that your phone is connected to the 2.4 GHz network (not 5 GHz) during setup, even if your router broadcasts a combined dual-band SSID. You can switch back to 5 GHz once the camera is configured (if the model supports it).
Installing PoE Cameras
PoE cameras (PS series) require an Ethernet cable for both power and video transmission. They are designed for more involved installations.
Equipment Needed
- PoE switch (802.3af or 802.3at depending on the camera’s power requirement) or an Imou NVR with integrated PoE ports
- Cat 5e or Cat 6 cable (maximum 100 m per segment)
- RJ45 connectors and a crimping tool (if making up your own cables)
PoE Installation Procedure
- Plan the cable routes from the switch or NVR to each camera position
- Run the Cat 5e/Cat 6 cables through cable trunking or walls
- Connect the cable to the PS camera via the RJ45 port (weatherproofed on outdoor models)
- Connect the other end to the PoE switch or NVR
- The camera powers on automatically when it receives PoE current
- If using an Imou NVR: the camera is detected automatically in the NVR interface
- If using a standalone PoE switch: add the camera via the Imou Life app or the NVR’s web interface
Installing Battery Cameras (Wire-Free)
Wire-free cameras (Cell 2, Cell 3, Cell 3C, Cell Go, Cell PT, Cell PT 2C, Cell PT Lite, Knight, Versa) require no electrical cabling whatsoever.
Initial Charge
Before first use, fully charge the battery via the supplied USB-C cable (3–5 hours depending on the model). The Cell 3C All-in-One and Cell PT 2C include a solar panel — place them in a position with adequate sunlight (at least 4 hours of direct sun per day).
Positioning for Maximum Battery Life
To extend battery life:
- Enable AI detection to avoid alerts triggered by wind movement or insects
- Lower detection sensitivity in high-traffic areas
- Disable continuous recording — use detection-only mode
- Bear in mind that cold temperatures reduce battery capacity in winter
App Configuration
The device-add process is identical to Wi-Fi cameras. A Wi-Fi network connection is required (wire-free cameras in the Cell range do not have 4G).
Installing 4G Cameras
4G cameras (Cruiser 4G, Titan Pro, DK3, DK7, Cell PT 4G and others with 4G capability) include a built-in 4G/LTE modem and do not need a Wi-Fi network.
Inserting the SIM Card
- Switch the camera off
- Open the SIM compartment (typically sealed with a rubber gasket)
- Insert a nano-SIM card (compatible with all networks and MVNOs)
- Close the compartment carefully, ensuring the gasket is properly seated (this maintains the IP66/IP67 seal)
- Switch the camera on
Recommended Data Plan
For typical use (detection-only, occasional live viewing):
- Detection-only recording: 5–10 GB/month is sufficient
- Frequent live viewing (active monitoring): 20–50 GB/month
- M2M (Machine-to-Machine) plans from your mobile operator are often cheaper for connected devices
Configuring Motion Detection
Once the camera is connected, configure detection to minimise false alerts:
Steps in Imou Life
- Tap the camera → Settings (gear icon)
- Go to Motion Detection
- Select the mode: standard motion, AI detection (people), or both
- Define detection zones: draw the active areas on the live image (e.g. exclude a road in the background)
- Adjust sensitivity (low, medium, high) to suit your environment
- Set up an alert schedule (e.g. nights only, or weekdays only)
Configuring Storage
Inserting a microSD Card
Most Imou cameras accept microSD cards rated Class 10 or UHS-I (minimum 30 MB/s write speed for HD recording). Compatible formats are microSDHC (up to 32 GB) and microSDXC (up to 256 GB depending on the model). Tip: use high-endurance cards from reputable brands (SanDisk, Samsung, Kingston) and format them in the camera, not on a PC.
In the app: Settings → Storage to select between continuous recording, detection-only, or a combination of both.
Enabling Imou Cloud (Optional)
In Imou Life: Settings → Cloud Services. Choose a plan (7 or 30-day history). The cloud operates alongside the SD card for off-site backup.
Integration with Smart Home Assistants
Amazon Alexa
Say to Alexa: “Alexa, enable the Imou Life skill.” Once the skill is enabled and accounts are linked, you can say: “Alexa, show the living room” on your Echo Show or Fire TV to view the live feed.
Google Home / Google Assistant
In the Google Home app: add a device → select “Works with Google” → search for Imou Life → link your account. Cameras appear in Google Home. Say: “Hey Google, show the front door camera” on your Chromecast or Nest Hub.
Common Problems and Solutions
| Problem | Likely Cause | Solution |
|---|---|---|
| Camera won’t connect to Wi-Fi | 5 GHz network selected, incorrect password | Ensure you are on 2.4 GHz; re-enter the password |
| Blurry or pixelated image | Insufficient internet connection | Check Wi-Fi signal strength; reduce resolution in settings |
| Too many false alerts | Sensitivity too high, AI detection disabled | Enable AI detection, define detection zones, lower sensitivity |
| SD card not recognised | Incompatible or faulty card | Format the card in the app (Settings → Storage → Format) |
| Audio delayed or absent | Network latency | Check your connection; close bandwidth-heavy apps |
| Poor night vision | IR blocked by glass, dirty lens | Clean the lens; avoid mounting behind or facing glass |
| Battery drains quickly | Many alerts, weak Wi-Fi signal | Reduce sensitivity, move camera closer to router, enable power-saving mode |
Factory Reset and Firmware Updates
Factory Reset
If a persistent problem occurs or you are selling the camera: press and hold the Reset button (usually in a pinhole) for 10 seconds until the LED flashes. All settings are wiped.
Firmware Updates
Imou regularly releases firmware updates (security patches and new features). In Imou Life: Settings → Device Information → Update. Updates take 2–5 minutes and are performed over-the-air.
Key Takeaways
- Setting up an Imou Wi-Fi camera takes under 10 minutes: download Imou Life, scan the QR code under the camera and follow the Wi-Fi wizard.
- Battery cameras (Cell, AOV) need no cable — mount the bracket, insert an SD card and scan the QR code.
- For PoE cameras, plug directly into an Imou NVR port — plug-and-play detects the camera automatically without any network configuration.
- Configure detection zones in Imou Life to avoid false alerts from vegetation or passing traffic outside your property.
- Enable event-only SD recording (motion-triggered) to save storage and extend recording history to up to 30 days.
Frequently Asked Questions
My Imou camera won’t connect to Wi-Fi — what should I do?
First, make sure your router broadcasts a separate 2.4 GHz network (not a fused dual-band network). Most Imou cameras don’t support 5 GHz. Position yourself within 5 meters of the router during initial setup. If the connection still fails, reset the camera (hold the Reset button for 5 seconds) and restart the Add Device wizard in Imou Life.
Can I install an Imou outdoor camera myself?
Yes, no technician needed. Imou outdoor cameras (Bullet, Cruiser) mount with 3–4 screws on a wall, overhang or pole. The included wall bracket suits concrete and brick. Use the appropriate anchor for your mounting surface and ensure the power cable is protected from moisture (conduit or through-wall routing).
How do I access the camera from another country?
Remote access works via the Imou Life app on your smartphone from anywhere in the world. No port forwarding or static IP is required — the connection goes through Imou’s encrypted cloud infrastructure. For NVR cameras, remote access also works via Imou Life after associating the NVR with your account.
Does the Imou camera record continuously or only on motion?
Both modes are available and configurable in Imou Life. Continuous 24/7 recording requires a permanent power supply (wired Wi-Fi or PoE) and a large SD card or NVR. Event-only recording is available on all cameras including battery models, and significantly extends storage life while capturing all important events.